Start a Magnetic Sticker Making Business
If you are looking for a home-based business that can bring in some nice extra income, you should consider starting a magnetic sticker business. Magnetic stickers are used for all kinds of advertising purposes. Almost any business can benefit from magnetic sticker advertising–from pizza restaurants to carpet installers. The initial investment for starting your magnetic sticker business is relatively inexpensive when compared to other start-up businesses. The best part is, you can use your magnetic products to advertise your magnetic sticker business.
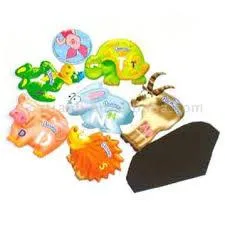
Making magnetic stickers are easy and the best part of it is the ability to stick to any metal surface without damaging it.
Instructions
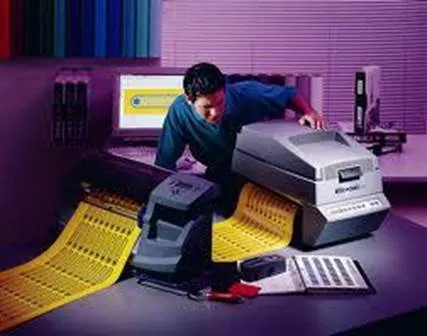
1. Purchase a commercial-grade magnetic vacuum machine with which to start your business. These machines can cost between $1,000 and $5,000 and are very easy to use. You simply arrange the lettering as you would like it on the magnet, and the vacuum machine heats it and sticks it to the magnet sheet. You will notice the lettering is slightly raised, which adds a nice touch.
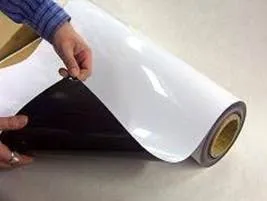
2. Buy your magnetic sheets in bulk to save money. You can always cut these sheets into your desired size. You can get many magnetic business cards out of a single magnetic sheet.
3. Target all of your local restaurants, especially those that deliver. These restaurants love to hand out magnetic business cards for their delivery customers to put on their refrigerator. This keeps the restaurant’s phone number in sight of the customer every day and helps gain repeat delivery orders.
4. Be patient with your magnetic sticker business as it may take time until you start getting more and more orders. If you stick to it, you will have paid for your vacuum machine and start-up costs in no time and the remaining income will be mostly profit.

How to Make Magnetic Stickers
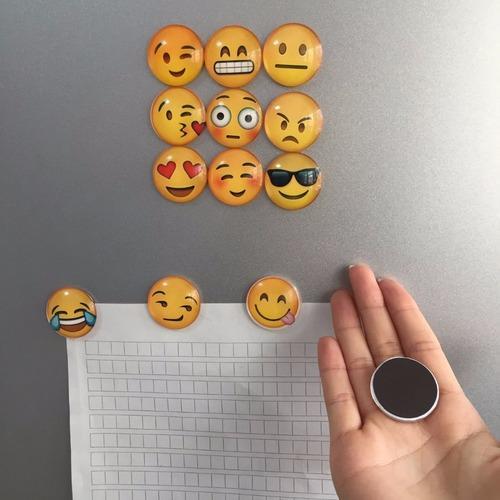
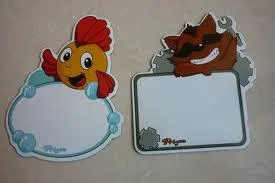
Magnetic stickers can be used in a variety of ways. Magnetic signs can be made online, created on your home computer and printed on magnetic sheets, or you can recycle old magnets to create a new magnetic sticker.
1. Create a folder on your desktop to hold all the items that will be uploaded to the supplier’s website where the magnetic sticker will be made. To do this, right-click on your mouse while on your desktop and select “New” and then “Folder.” Name the folder so it will be easy to remember.
2. Scan all photos, clip art, or any other graphics that will be used to create the magnet. Put them into the folder on your desktop.
3. Locate an online vendor to make the magnetic sticker. Type ‘make magnets online’ in the web browser and select a business with which to work.
4. Follow the directions on the website to upload the images stored on your desktop. Place your order, provide payment information, and the magnetic stickers, magnetic signs, or magnetic bumper stickers will be delivered to you.
5. Purchase magnet sheets from your local retail or office supply store. Make sure they are compatible with your type of printer.
6. Locate a magnet template online by typing in “magnet templates’ into your web browser. There are free, downloadable templates that provide a great way to start designing your magnet sticker. According to office supplier Avery.com, magnet templates are available with office, trade show, baby, wedding, and seasonal designs and are available for all versions of Microsoft Word. Add graphics, clip art and text and then print on to the magnetic sheets.
7. Make your own magnet sticker with digital photos, make a list of important phone numbers, or type up the school team’s schedule and then print them from your inkjet printer on to the magnetic sheets.
8. When creating magnet stickers, you could make one big design or photo per sheet or make smaller designs, cut them into different shapes, and give them as gifts or sell for fund-raisers.
Using Recycled Magnets
· Find old or unwanted refrigerator magnets that have a flat surface. Clean with alcohol to ensure tape or glue will adhere and stick to them.
· Select a photo, create a list or make up your own design. Print on card stock-weight paper and cut it to fit the size and shape of the magnet.
· Place a strip of double-sided tape to the front on the cleaned magnet. Ensure the tape goes from end to end of the magnet. If the magnet has a shape other than a rectangle or square, be sure to cover from edge to edge at the top and bottom of the magnet
· Position the printed card stock on to the tape and apply pressure to secure it to the magnet.
· Spray clear acrylic sealer onto the design and let dry.